HUBBOX Desktop Client Install - 2
HUBBOX Desktop Client Usage and Connection Guide
Below you will find the desktop client configuration steps to access your HUBBOX Industrial IoT and 4G/LTE/5G Router hardware from anywhere in the world via a secure OT/IT network (VPN).
1. User Login and Automatic Configuration
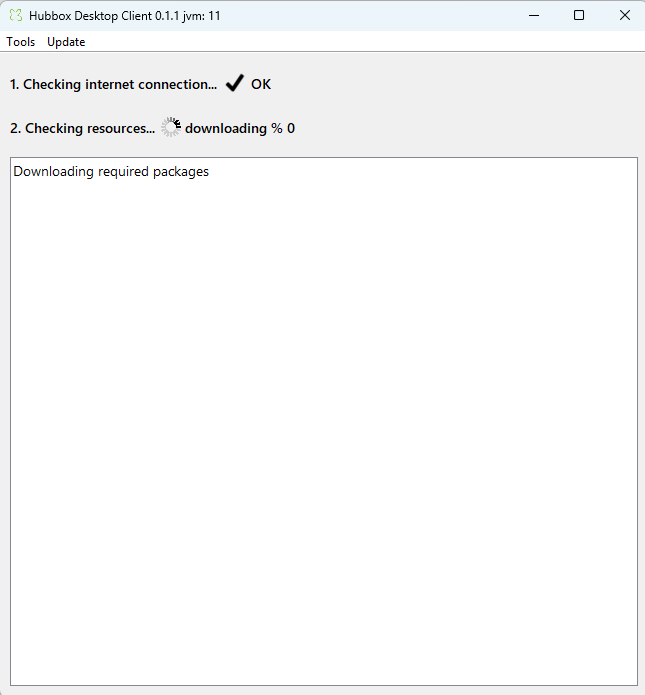
When Hubbox_Desktop_Client.exe is first launched, the software will automatically download the security certificates and network packages required for industrial communication from the server. Your internet connection is automatically checked during this process.
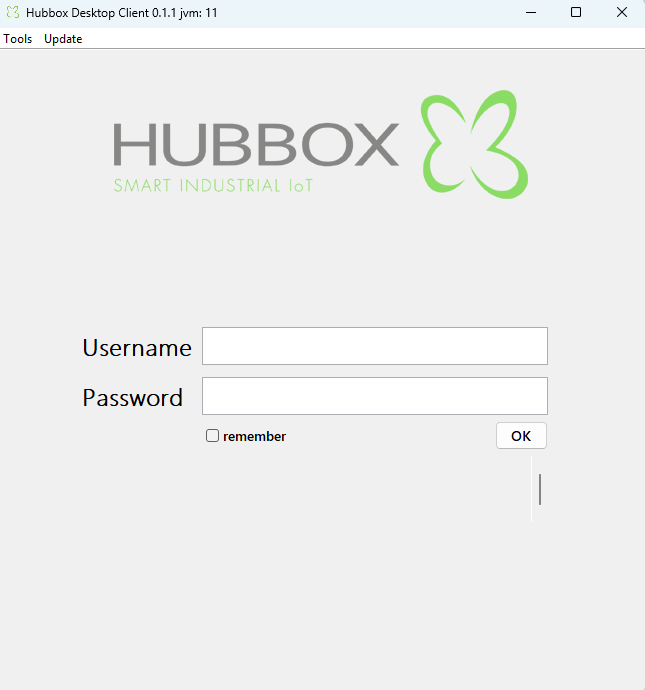
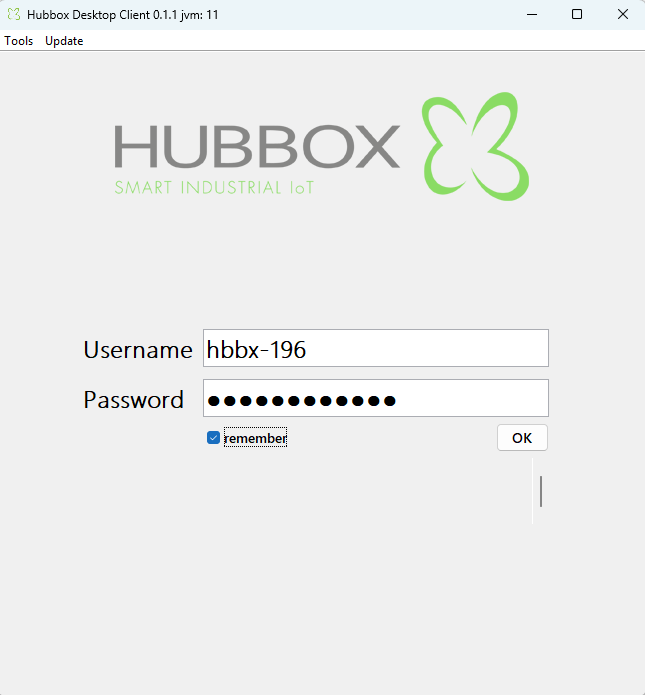
On the login screen that opens when you start the application, enter your authorized username and password registered to the HUBBOX cloud system (Cloud Network) and click the OK button.
2. Connecting to the Industrial Network (OT/IT Network)
Once the setup is complete, the main control panel opens. The top list (Hubbox Networks) displays the networks you are authorized for, and the bottom list (Boxes) shows the field router devices connected to the selected network.
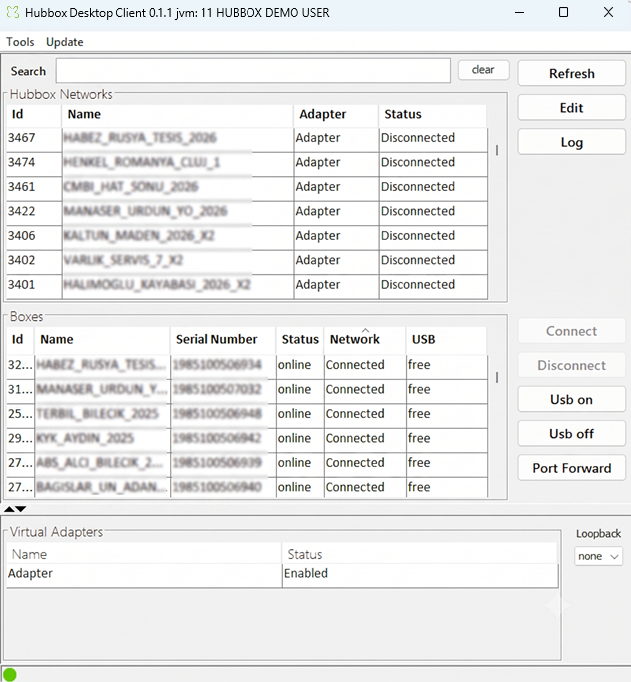
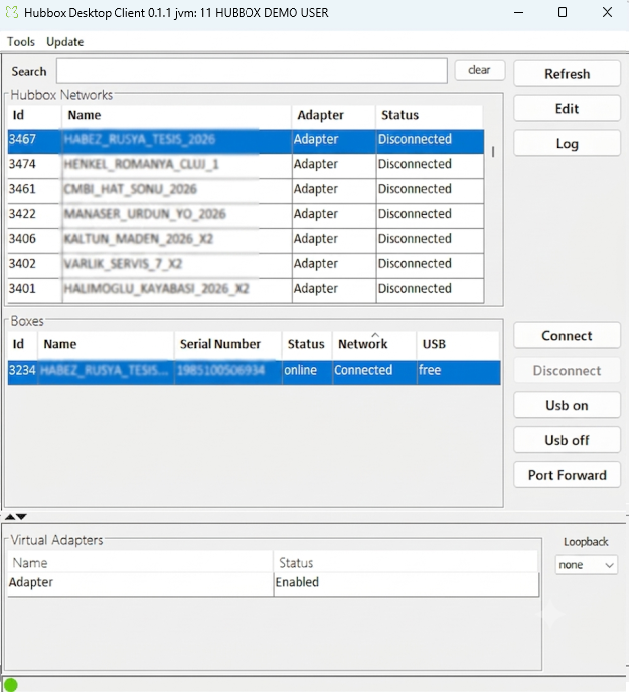
- Pre-Connection (Disconnected): Upon initial login, all networks are closed for security reasons. Select the facility you want to connect to from the list.
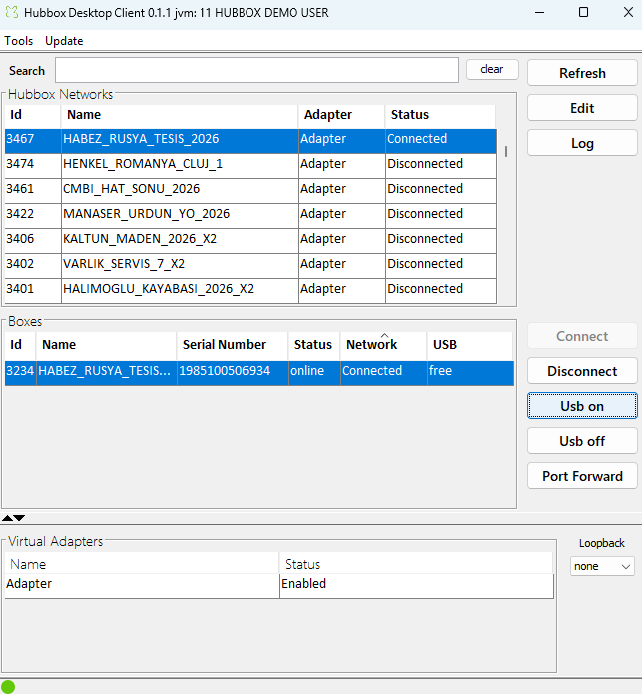
- Establishing Connection: Click the Connect button on the right menu. When the network status is highlighted in blue and changes to Connected, the encrypted VPN tunnel is established.
3. Local Network Discovery (Hubbox Discovery)
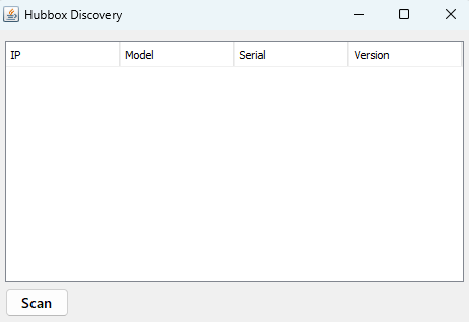
You can use the HUBBOX Discovery tool to access router devices directly by detecting their IPs over the local network (LAN).
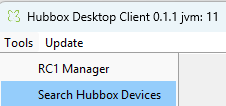
- Click on the Tools > Search Hubbox Devices tab from the top menu bar.
- List the IP address, model, and serial number information of the devices on your network by clicking the Scan button in the window that opens.